Attach Waivers to Activities
Attach a waiver form to each activity and WaiverFile asks everyone on the booking to sign it right after they buy. Signed waivers are linked to the booking, so you can see who's done at a glance and check guests in quickly.
Choose the waiver
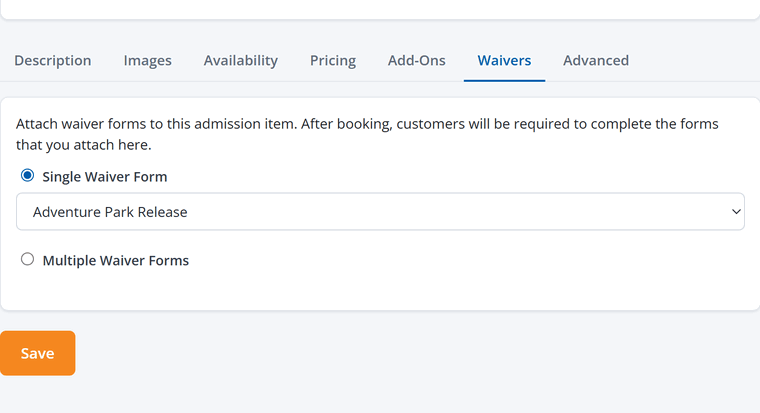
- Open the activity under Activities › Activities and go to the Waivers tab.
- Pick Single Waiver Form and choose your form. Most businesses use one waiver for everything.
- Save.
More than one form
Choose Multiple Waiver Forms and click Add Forms when guests need to sign more than one document, for example a general release plus a separate rental agreement. For each form you can choose whether it's required and the order they're signed in.
Events and memberships
Events and membership plans have their own waiver settings. See Create an Event with Tickets and Turn On Memberships and Create a Plan.
How it works for guests
- Right after checkout, the confirmation page asks the guest to sign. Kids are added to their parent's waiver.
- For the rest of the group, the guest can sign for them on the same device or send each person a signing link.
- The booking shows each person's waiver status, for you and for the guest, until everyone is done.
See Waivers After Booking for the full guest walkthrough.
Need a waiver form? Go to Waivers › Waiver Forms (classic menu: Waiver Forms) to create one. You can start from a free sample for your industry and edit the wording.