Set Up Online Booking
WaiverFile booking lets guests pick a date, pay online and sign their waivers in one smooth flow. Setup takes about ten minutes, and a short wizard does most of the work.
Start a new account
Go to Get Started Free, enter your name, business name and email, then choose Online Booking + Waivers and create a password. There's no monthly fee for booking. You pay a booking fee only when a guest books.
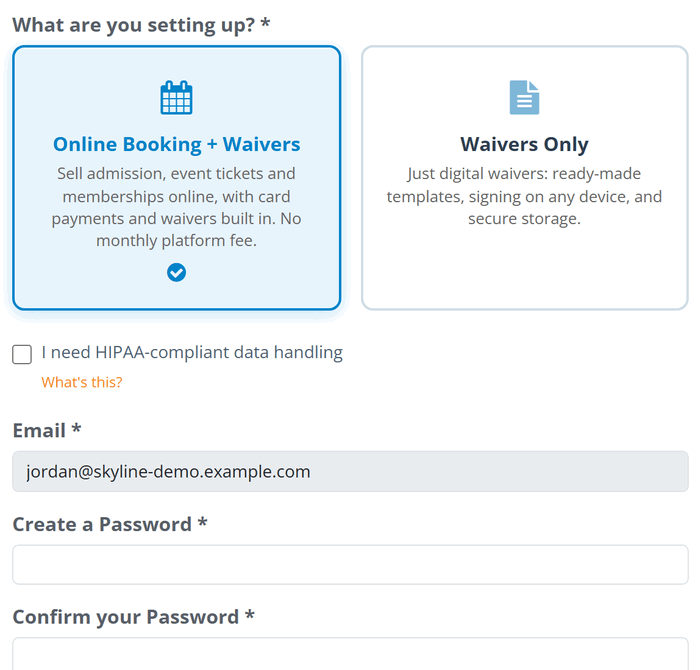
Already using WaiverFile for waivers? You don't need a new account. Contact us and we'll turn on booking for your existing account. Your waiver forms, kiosk and check-in all stay the same.
The setup wizard
Right after you sign up, the wizard walks you through three steps. Everything you enter can be changed later, so don't worry about getting it perfect.
- Your website. Tell us a little about your business and pick a look. You can have AI write a complete site for you, or start with a simple one and fill it in yourself. See Your Booking Website.
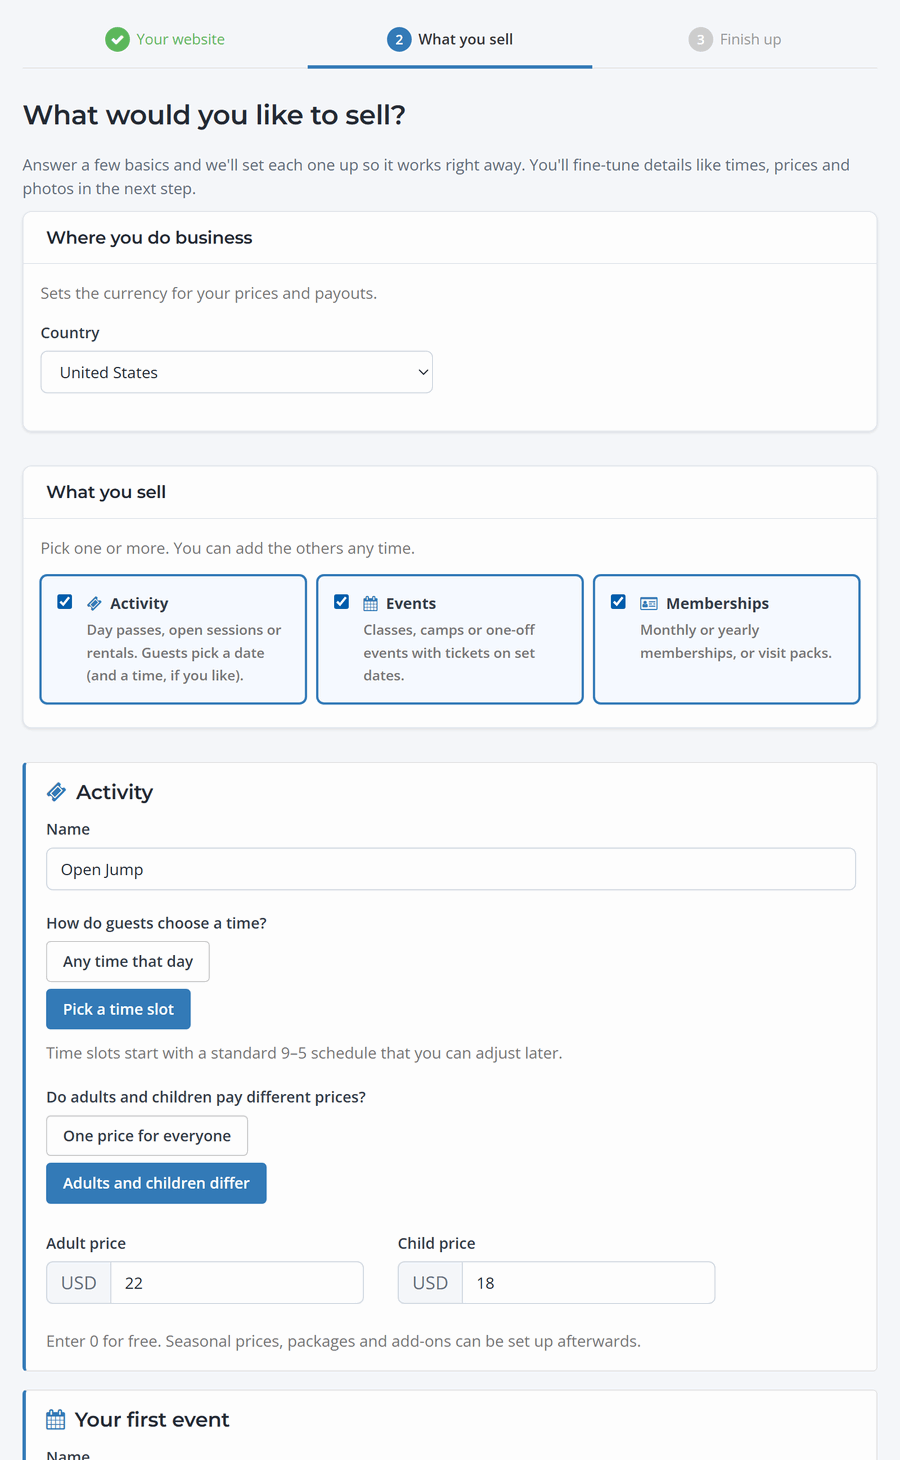
- What you sell. Choose your country (this sets your currency), then pick what you offer: Activities (day passes, open sessions, rentals), Events (classes, camps or one-off events) and Memberships. Give each a name and a price, and WaiverFile creates a working item with a default schedule and pricing.
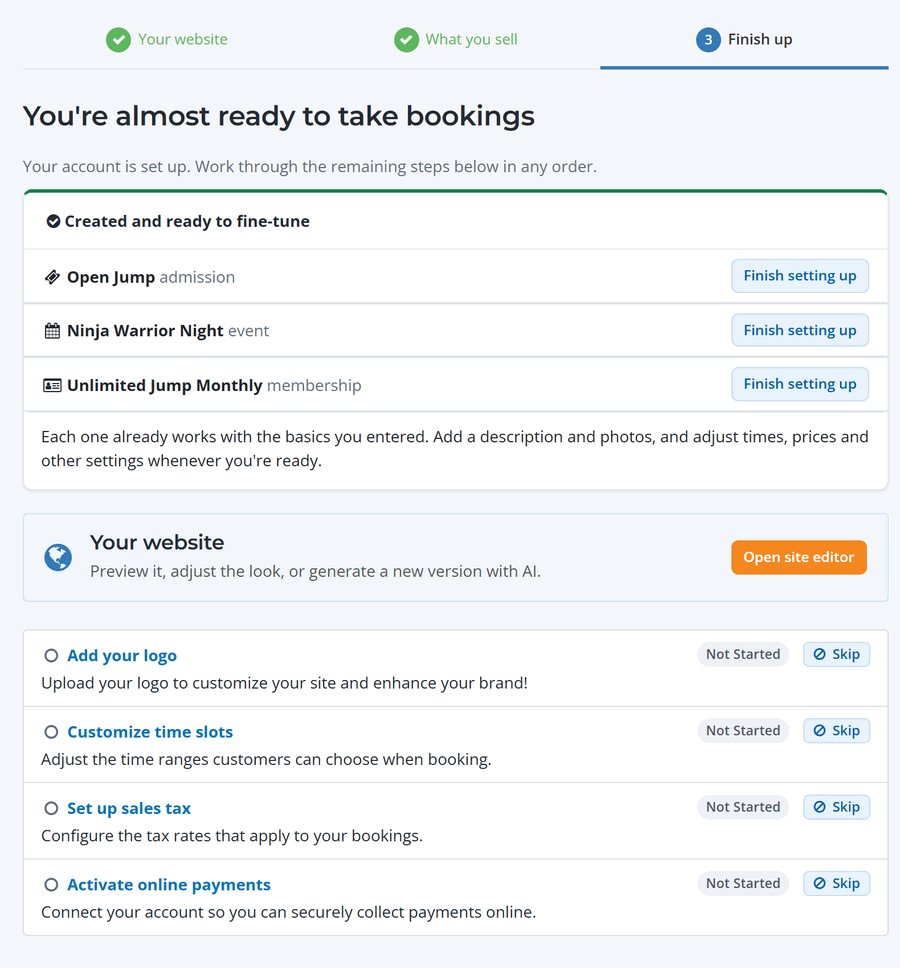
- Finish up. A short checklist of what's left: add your logo, adjust your time slots, set up sales tax and connect your payment account.
Finish your checklist
The last step shows what you still need to do before you take bookings. You can come back to it any time from Complete Setup at the top of the admin.
Add a waiver form
Guests sign their waiver right after they book, so you'll want a waiver form attached to each activity. If you don't have one yet, go to Waivers › Waiver Forms (classic menu: Waiver Forms) and start from one of the free samples, or paste in your own agreement. Then attach it to your items (see Attach Waivers to Activities).
Next steps