How to Upload Attachments to Online Waivers
WaiverFile includes a feature to have customers upload files that will attach to their signed waiver. This can be useful to collect documents related to your waiver, wether that be scans of related documents, images or other files.
Note that file uploading works on our web-based signing solution only. Since our mobile app is intended for kiosk based signing, selecting files to upload from there wouldn't be useful, so we omit these steps when signing waivers there.
Setting up file upload options is easy:
Setup your file options
To get started, you'll need to define what files you want to accept and on which of your waiver forms they apply. First, log into your admin dashboard and go to Settings >> Attachments.
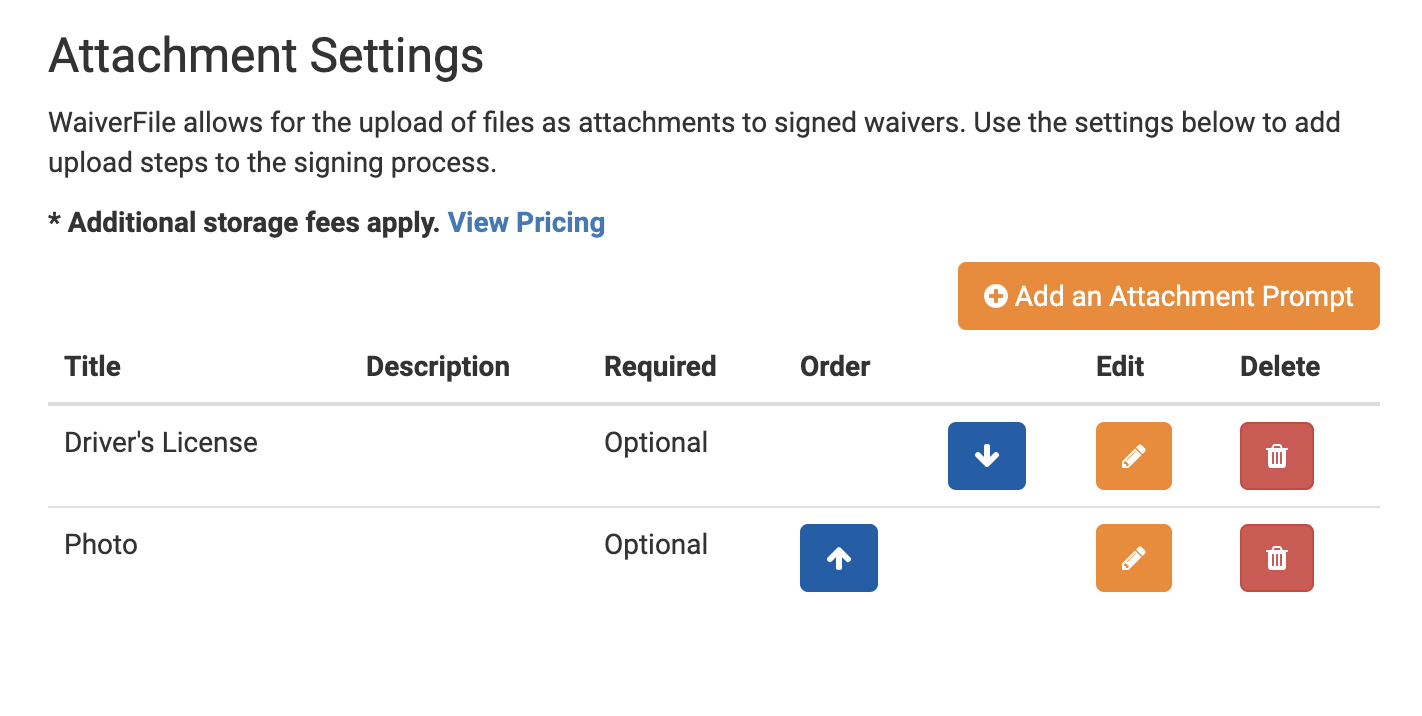
Here you will see a list of the steps that have been setup. Click Add an Attachment Prompt to add a new one.
The form to configure these has several options:
| Title/Label |
This is the label that is displayed next to the upload box. |
| Description |
This text is displayed smaller, just underneath the upload box. Use this to describe details about what the file should contain. |
| Required |
If selected, this will force users to upload a file in order to continue submitting their form. If you are going to allow customers to send you files manually, you'll want to uncheck this and make it optional. You can upload attachments directly from the dashboard as well. |
| Form Selection Mode |
You can choose if this file applies to all your forms or only certain ones. |
| Permitted file types |
Choose which kinds of files may be uploaded as part of this step. The system will enforce it so only these kinds of files can be uploaded. |
| Add a storage plan to my account |
This box must be checked to confirm that you wish to add a storage plan. To store photos and documents, we have an add-on storage plan that is billed in addition to our normal waiver plans. Learn more at our pricing page. |
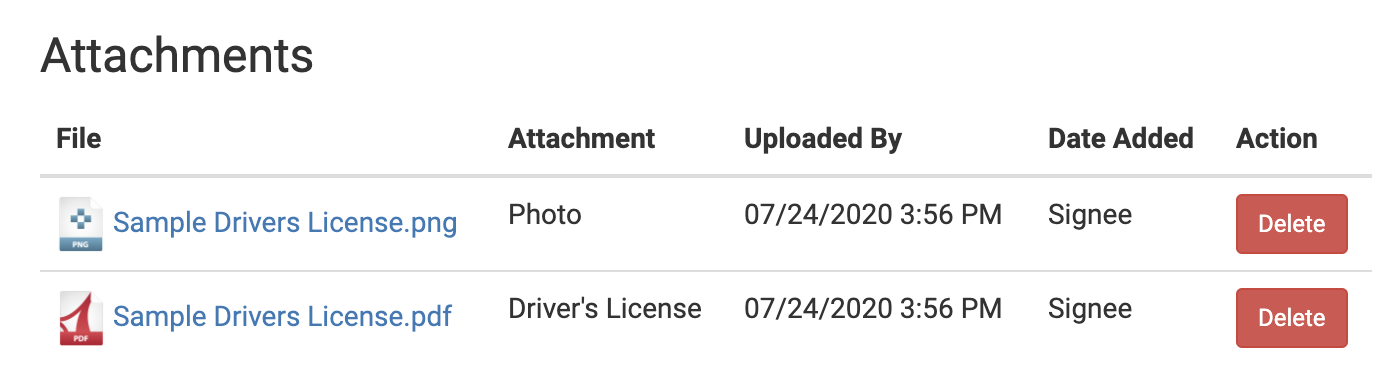
Downloading Documents
Once waivers are submitted with attached files, you can review these files just by viewing the waiver in the admin dashboard. The files will be listed under the customer's signature area. If you want to add or replace files from there, you'll see delete buttons and an upload option to add new files.