 WaiverFile Zapier Integration
Zapier is a powerful tool that connects many different systems together. With our Zapier integration, you can setup automation so that when a new waiver is signed, actions are performed or data is sent to other systems. We also have an action so you can generate new events inside WaiverFile automatically when triggered by something in another system.
How to Setup the WaiverFile Zapier Integration
Getting Zapier connected to your WaiverFile account is easy. First, if you don’t already have one, go to Zapier.com and create an account. Zapier offers a free account that will get you started. Once you have an account, log in and create a Zap. A Zap is a set of actions you can configure to run automatically.
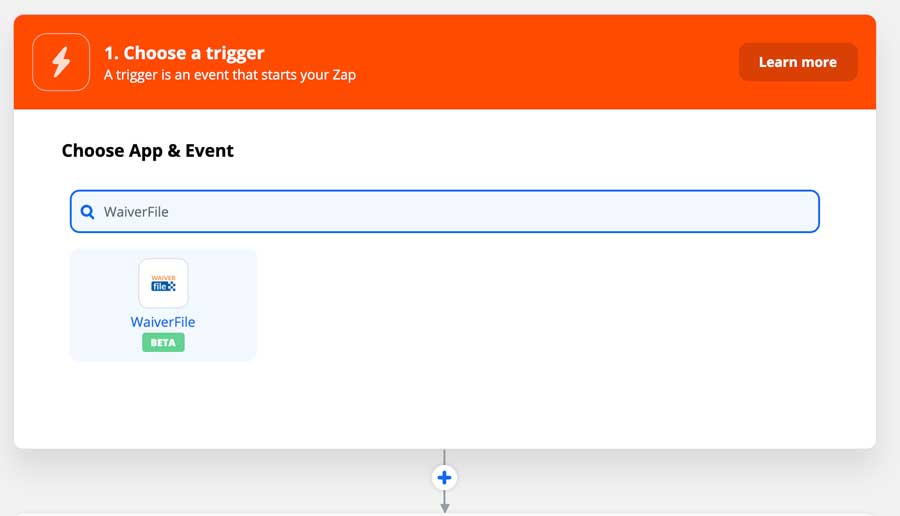
The first step is to choose a trigger. In the box, search for WaiverFile and click on the WaiverFile logo.
Under Trigger Event, choose New Waiver. This trigger will be hit whenever a new waiver is collected in your account.
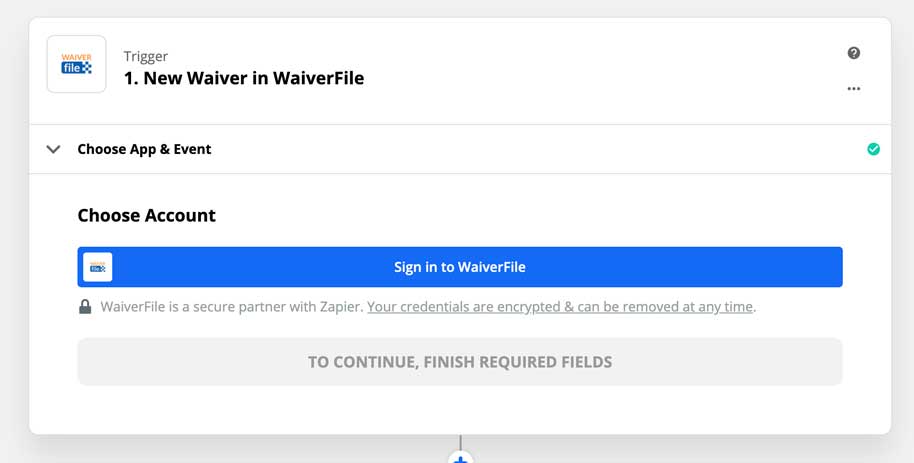
You will be prompted to sign in to WaiverFile. When you click this, a dialog appears that will ask you for an API key and Site ID.
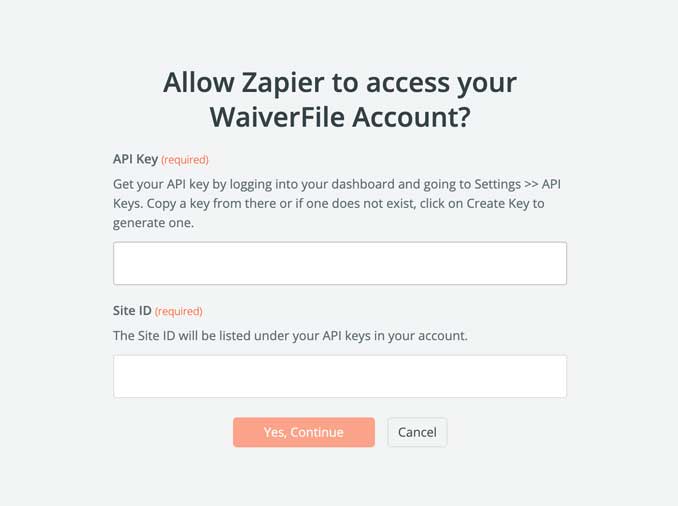
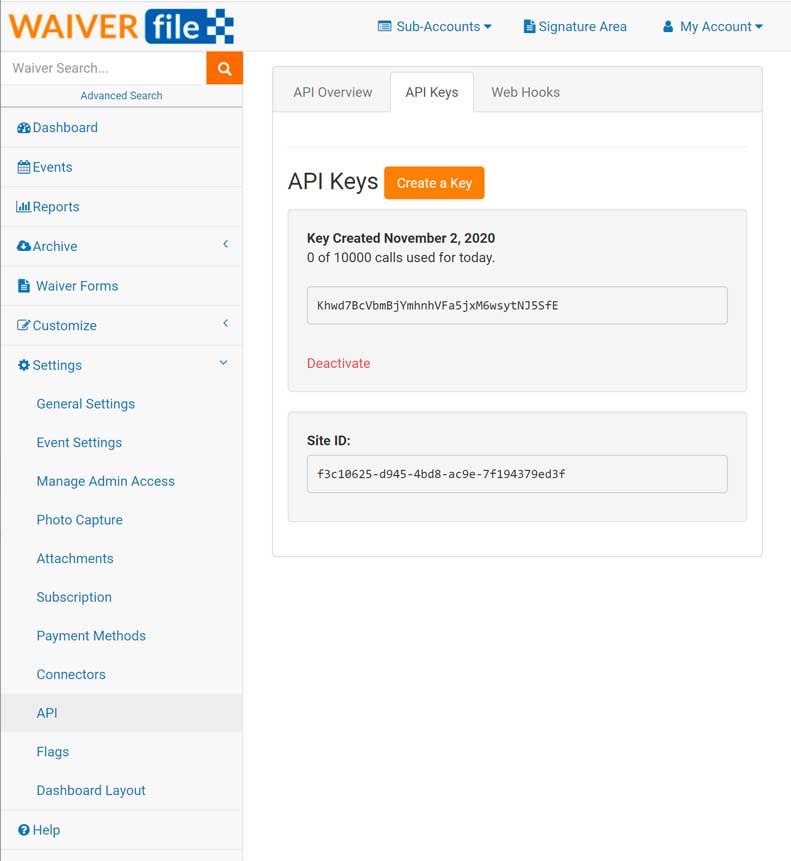
To get your API key and site id, log into your WaiverFile dashboard. On the left, select Settings >> API. Then, Select the API keys tab. If you do not already have a key created, click on Create a Key to generate a new one. The key is masked, so click the Show button to reveal the key. Below the key is your Site ID. Copy each of these values into the Zapier dialog, and click Continue.
Once you have logged in, you can test the trigger to make sure it works. Note that it is best to have a sample value in your account to work with. If you have no signed waivers, it’s recommended to sign a test waiver in WaiverFile so the setup process in Zapier has something to work with.
Now that you have a trigger for a new waiver, it’s time to decide what you want to do when that happens. You can choose from many services that Zapier connects to, as well as use any number of built in options like sending an email or SMS message.
For the purposes of this example, we will make Zapier create a new contact in Google Contacts. Once set up, each time a new waiver is signed in WaiverFile, Zapier will push a new contact into Google Contacts automatically.

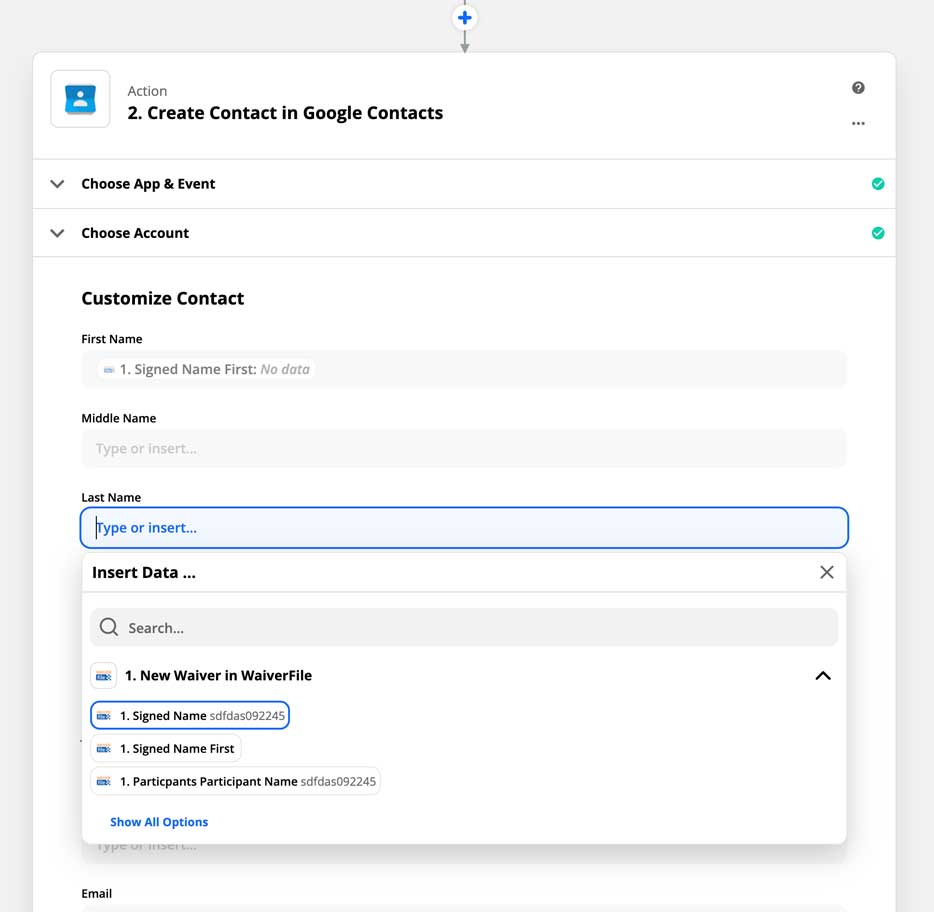
Under Action, search for Google Contacts and select it. Log into Google contacts using your Google account when prompted. Under Action Event, choose Create Contact. Next, you’ll see a list of all the fields that a contact can have. For each one, click on it and choose the related field in WaiverFile. For example, you’ll first map “First Name” to “Signed First Name”. The fields you can use will depend on which questions you have turned on in your waiver form, so make sure you are collecting the data that you want to retain and then map all those fields.
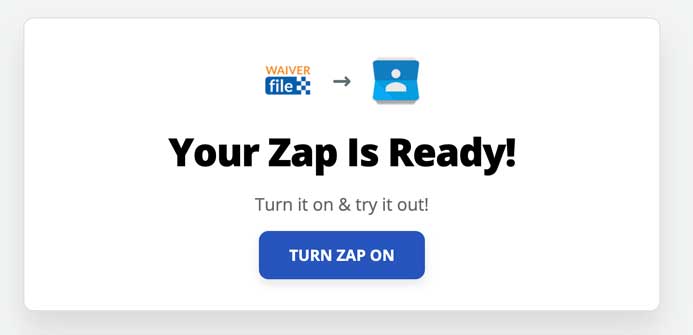
Once that is done, save at the bottom and turn on your Zap. To test it out fully, sign a new waiver and then go see the new contact that has been generated in your Google Contacts account.
This process works similarly for many other services as well. You can also run it in reverse and create content within WaiverFile. For example, if you use an online booking system that integrates with Zapier, you can generate a new event within WaiverFile for each new booking that is created. The automation possibilities are almost endless!
If you have questions about how to make use of Zapier, feel free to contact us. Also, if you have any feedback or suggestions about other features that you would like to see integrated within Zapier, please let us know!
Get Started with Zapier