How to Connect WaiverFile to Constant Contact
WaiverFile has an integration with Constant Contact which will automatically send data collected on your waiver forms to your email marketing lists! Setup is just a few quick steps.
If you don't already have a Constant Contact account, use the following signup link to receive a special discount:
ConstantContact Discount Signup
To get started, log into your WaiverFile admin screen. On the left, select Settings, and then Connectors. You will see a number of available connectors. Under the Constant Contact connector, click the Setup button.
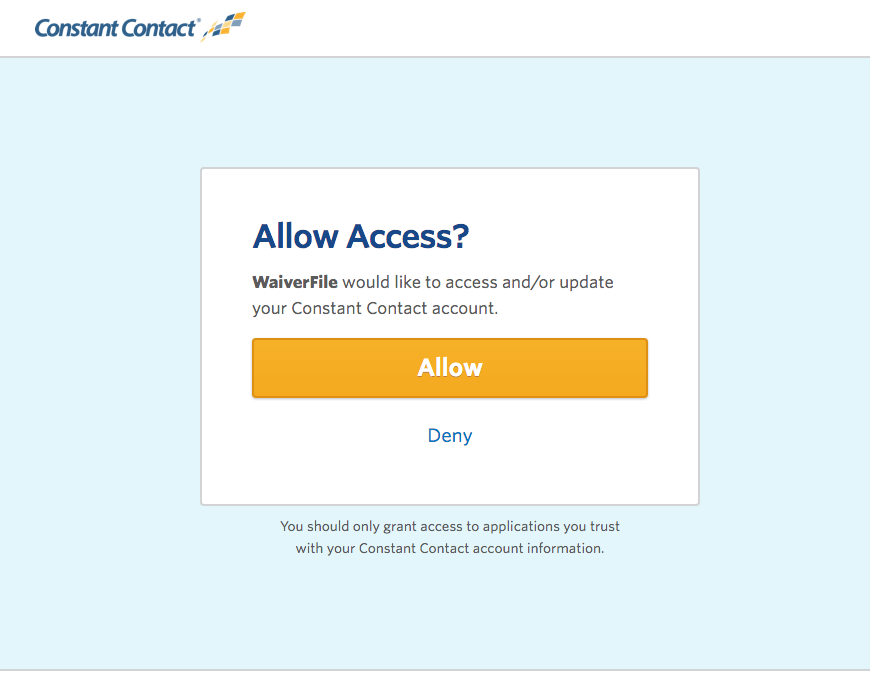
You'll be taken to Constant Contact to authenticate the app. If prompted, log into Constant Contact. Then just click the Allow button to grant access to WaiverFile.
You'll then be taken back to WaiverFile where you can configure the specific options of the connector.
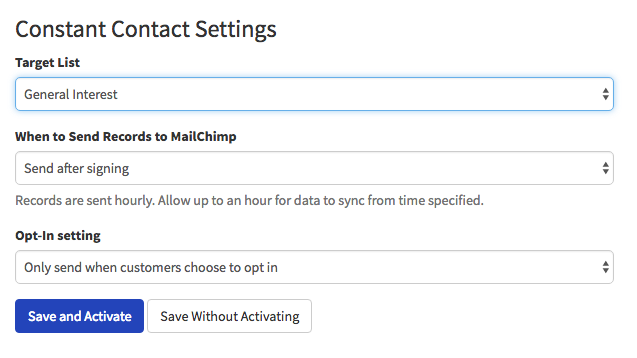
The options include which of your mailing lists the collected data should be sent to, and when it should be sent.
The opt-in setting has a few choices. If you choose to send data only when customers choose to opt in, only waivers where a customer has selected to join your mailing list will be sent. You can configure the options for this question and how it reads under Waiver Forms, Edit Form Fields. If your agreement states that customers agree to join your list automatically, then you may choose to disregard this option and always send the data.
Once per hour, WaiverFile will automatically push any new names and emails to your Constant Contact account.
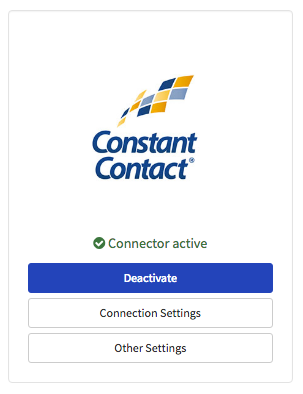
Now you will see that your Constant Contact connector is list under the active connectors section. If at any time you want to adjust your settings, you can do so from this screen.
Video: How to Send Names and Emails from your Waivers to Constant Contact